
With the Dynamics 365 v9, you can add an auto-number attribute for any entity. Currently, you can add the attribute programmatically. There is no user interface to add this type of attribute.
I have in my other blog showed how you can achieve this using C#(console application) : CREATE AUTO-NUMBER ATTRIBUTE IN DYNAMICS CRM 365 USING ORGANIZATION SERVICE + SIMPLE CONSOLE APPLICATION
In this blog I am going to show you how you can achieve this using a simple WebApi request, By default this blog will also help you to learn and see how you can use postman to connect with dynamics 365 online to perform certain WEBAPI operations as we will be suing postman to fire a web api request.
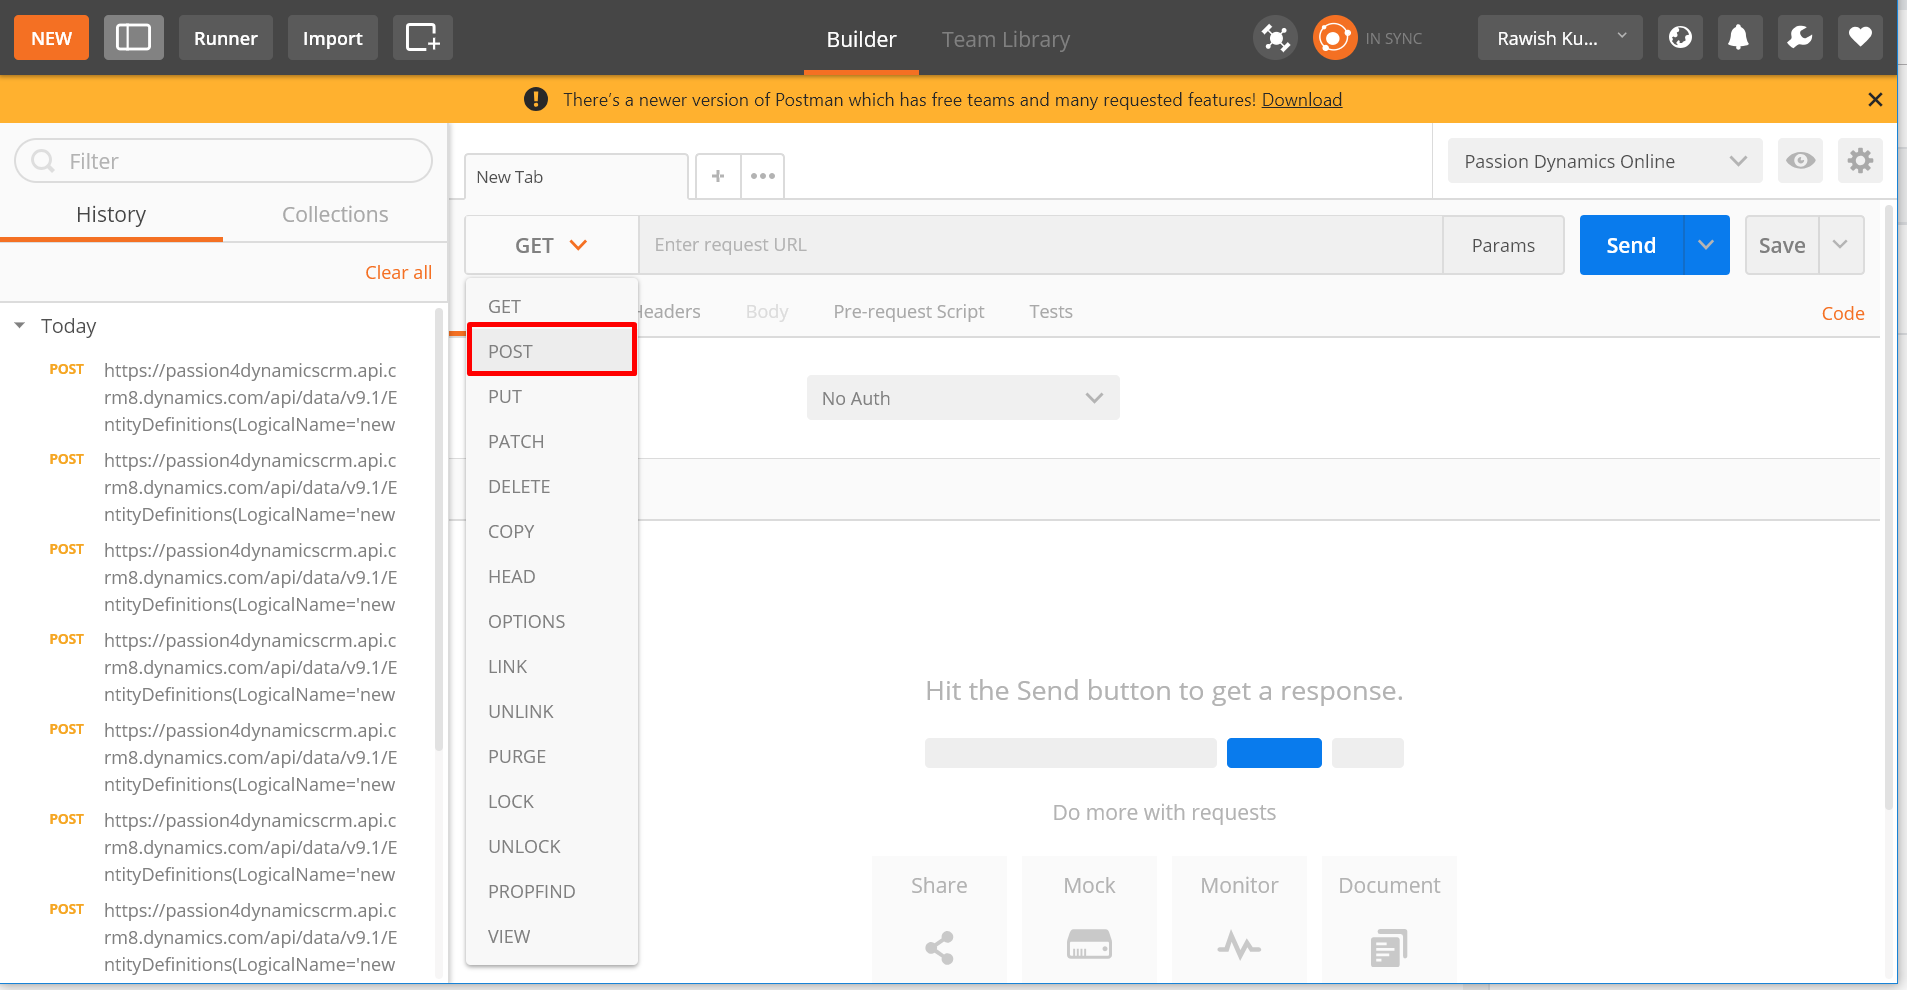
- If you don’t already have POSTMAN, download desktop application here it here : POSTMAN Desktop Client or simply add a chrome extension : Chrome Extension . In my case I am using a chrome extension. Launch the application and select Action as “POST”:
- Enter below URL in the next url section:
https://%5BOrganizationURL%5D/api/data/v9.1/EntityDefinitions(LogicalName=’EntityLogicalName’)/Attributes/
Enter the correct organization url and entity logical name on which you need to create an auto number field.
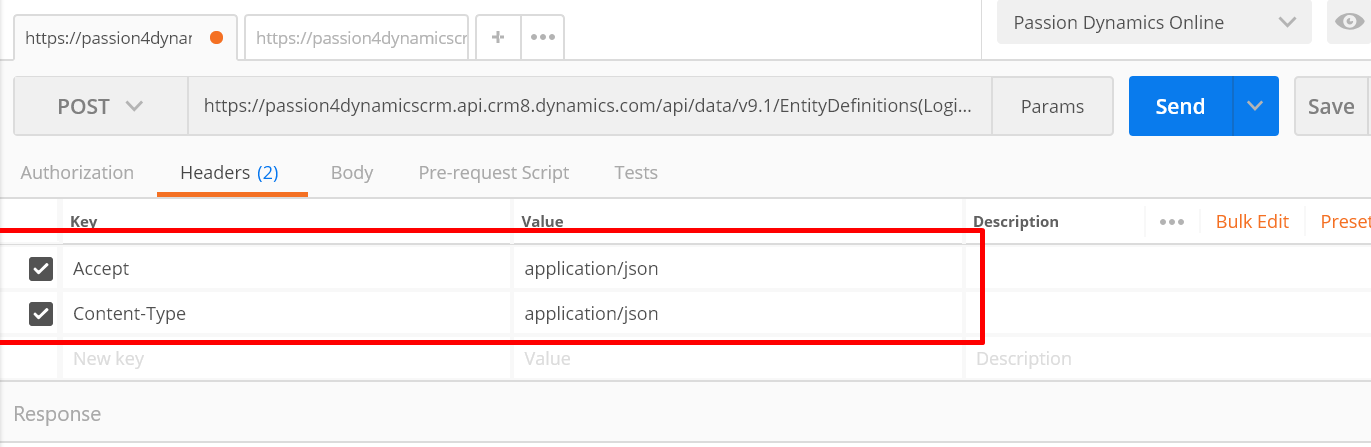
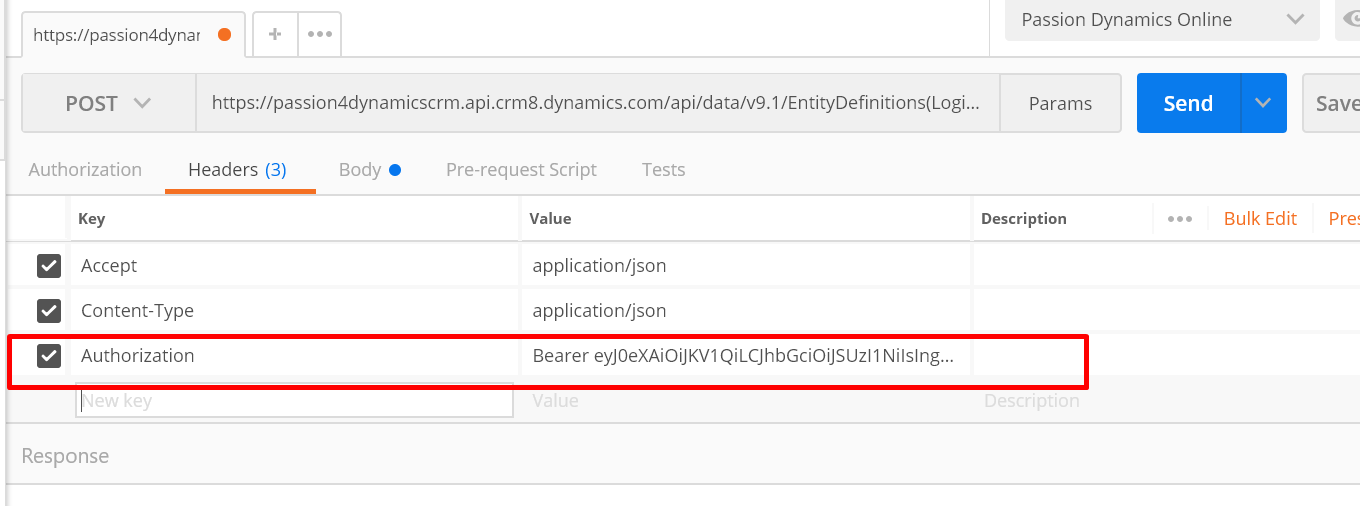
- Now click on “Headers” and add below:
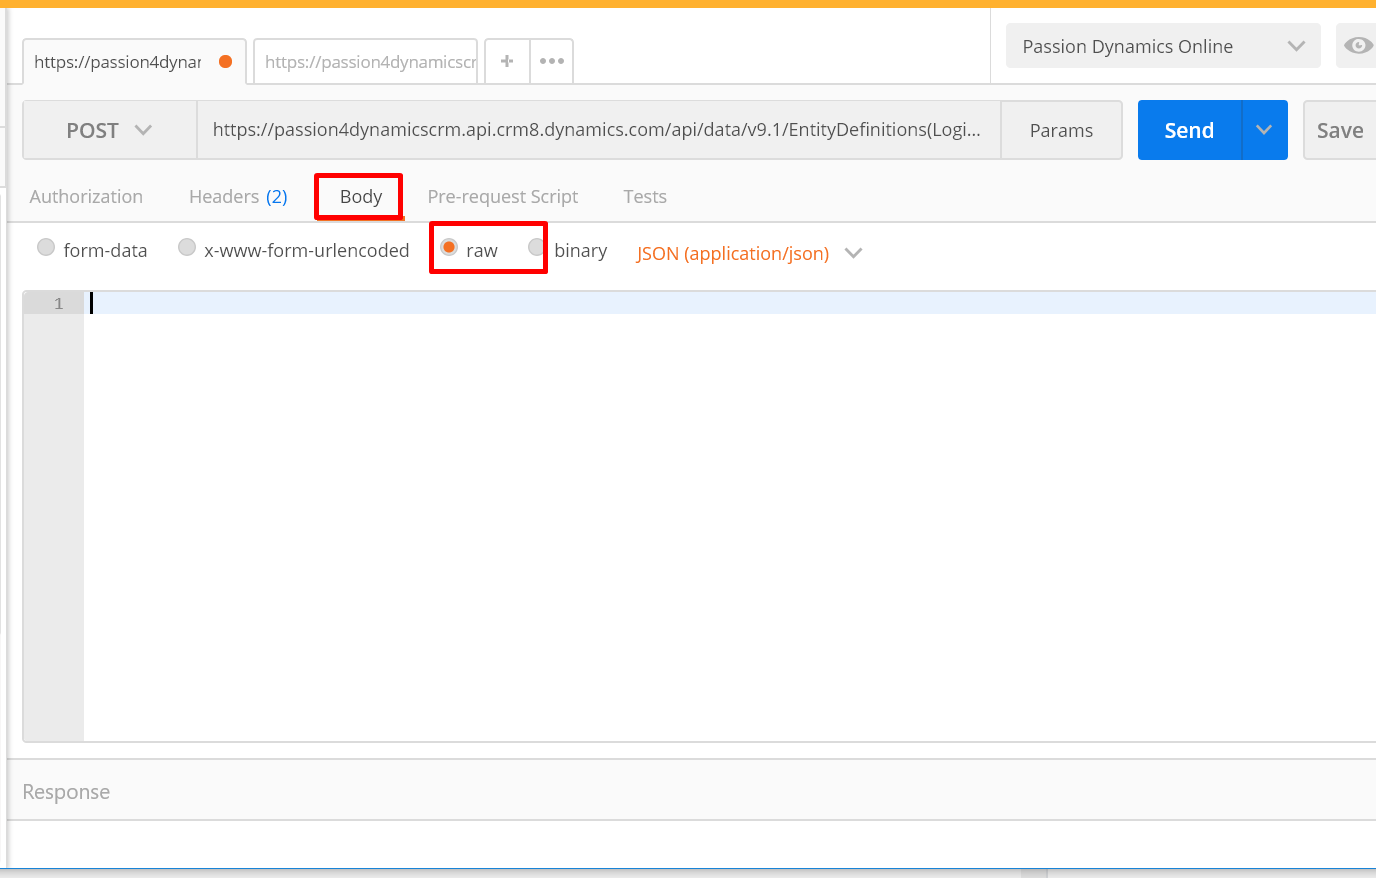
- Now click on “Body” tab and select “raw” option:
- Enter below Json request in the editor:
{
 "AttributeType": "String",
 "AttributeTypeName": {
  "Value": "StringType"
 },
 "Description": {
  "@odata.type": "Microsoft.Dynamics.CRM.Label",
  "LocalizedLabels": [
   {
    "@odata.type": "Microsoft.Dynamics.CRM.LocalizedLabel",
    "Label": "Serial Number of the widget.",
    "LanguageCode": 1033
   }
  ]
 },
 "DisplayName": {
  "@odata.type": "Microsoft.Dynamics.CRM.Label",
  "LocalizedLabels": [
   {
    "@odata.type": "Microsoft.Dynamics.CRM.LocalizedLabel",
    "Label": "Serial Number",
    "LanguageCode": 1033
   }
  ]
 },
 "RequiredLevel": {
  "Value": "None",
  "CanBeChanged": true,
  "ManagedPropertyLogicalName": "canmodifyrequirementlevelsettings"
 },
 "SchemaName": "new_AutoNumber",
 "AutoNumberFormat": "WID-{SEQNUM:5}-{RANDSTRING:6}-{DATETIMEUTC:yyyyMMddhhmmss}",
 "@odata.type": "Microsoft.Dynamics.CRM.StringAttributeMetadata",
 "FormatName": {
  "Value": "Text"
 },
 "MaxLength": 100
}
6. change the “SchemaName” of the field as per your need in my case its “new_AutoNumber” and also you can change the AutoNumberFormat as we discussed in the last post : : CREATE AUTO-NUMBER ATTRIBUTE IN DYNAMICS CRM 365 USING ORGANIZATION SERVICE + SIMPLE CONSOLE APPLICATION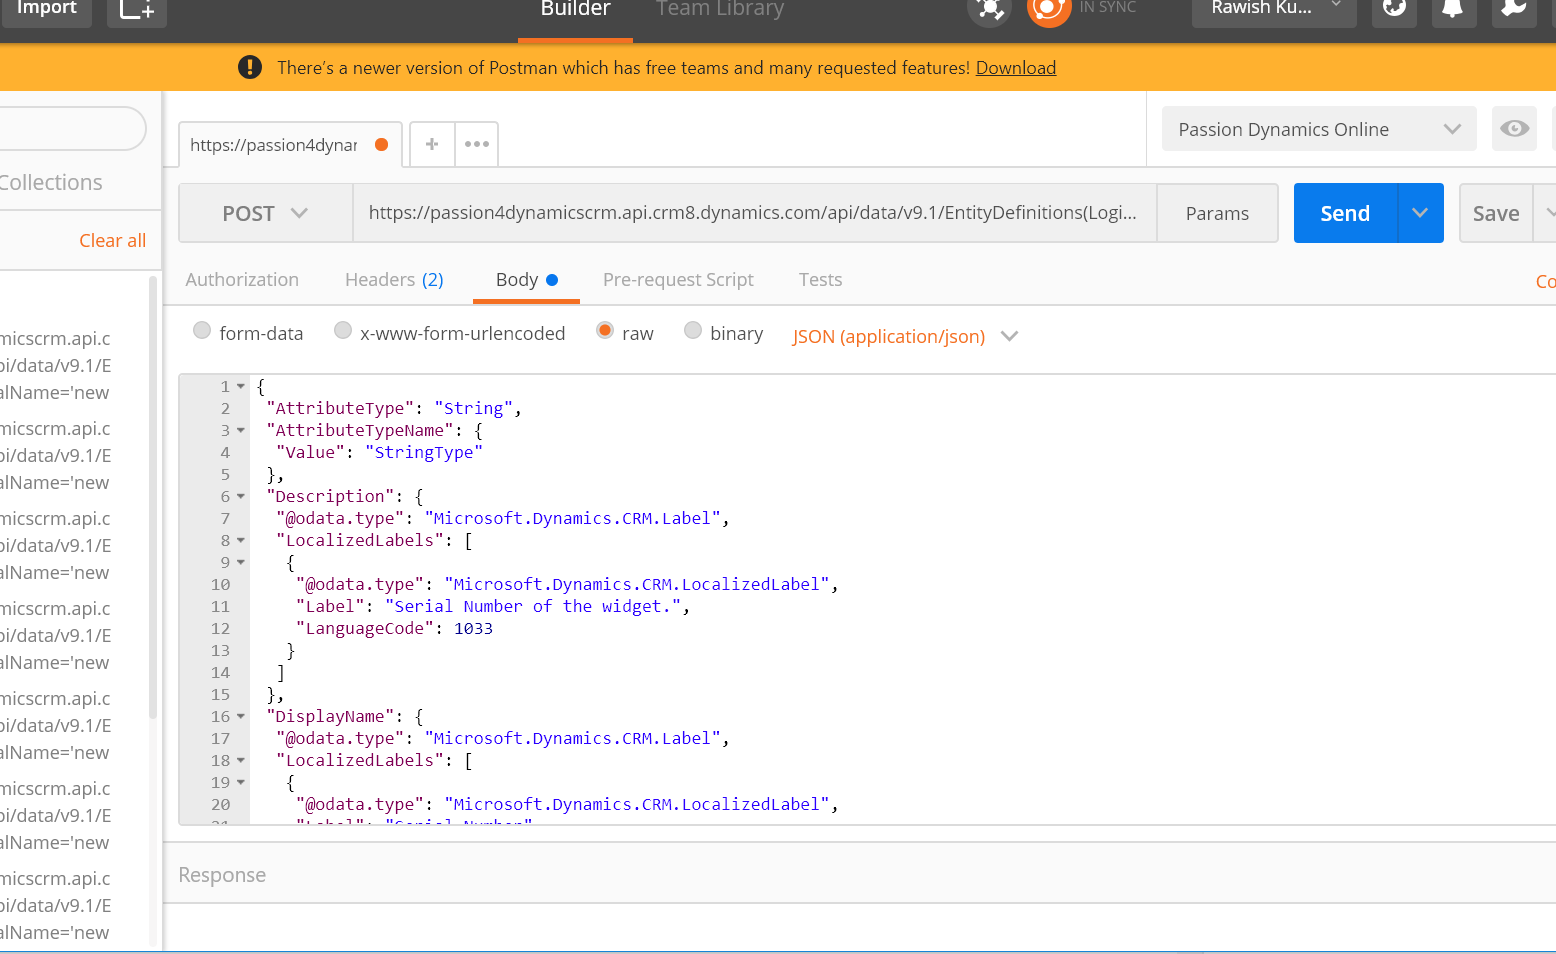
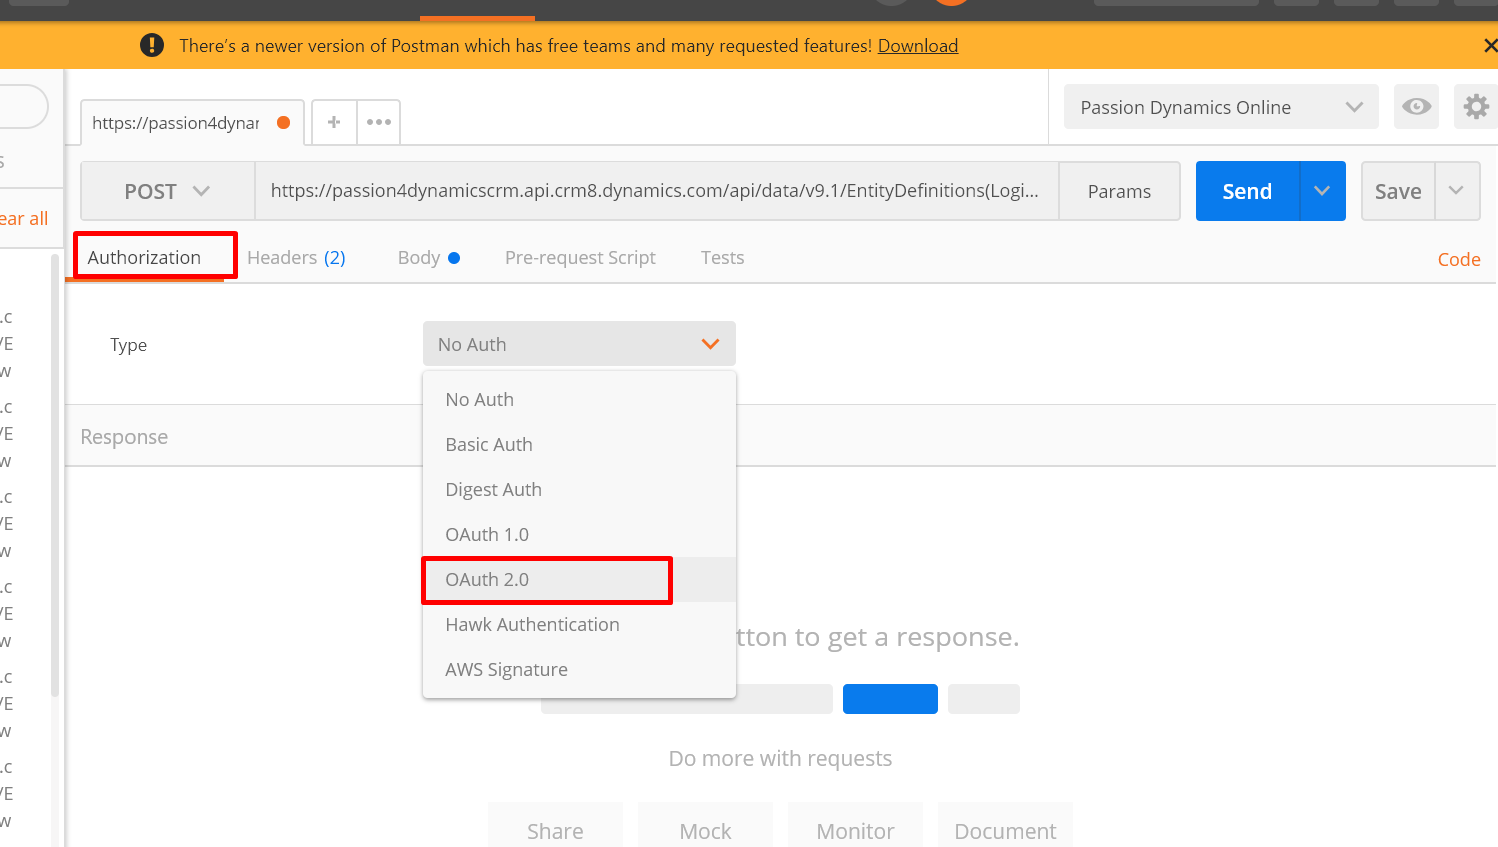
7. Okay its starting to look really good. but here comes the important part how do we setup the authentication – to do this click on “Authorization” Tab and select Type as “OAuth 2.0”:
8. When you select Type as “OAuth 2.0” you have option to “Generate Access Token”
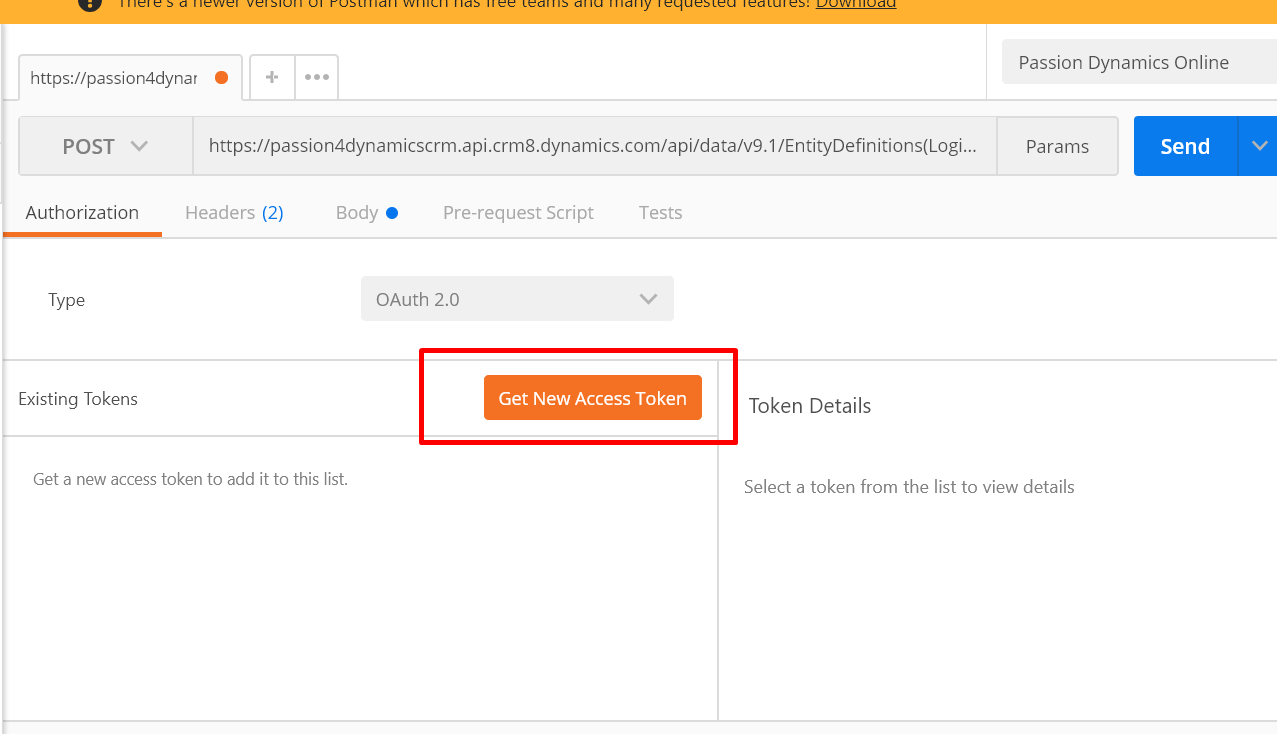
9.Click on Generate New Access Token:
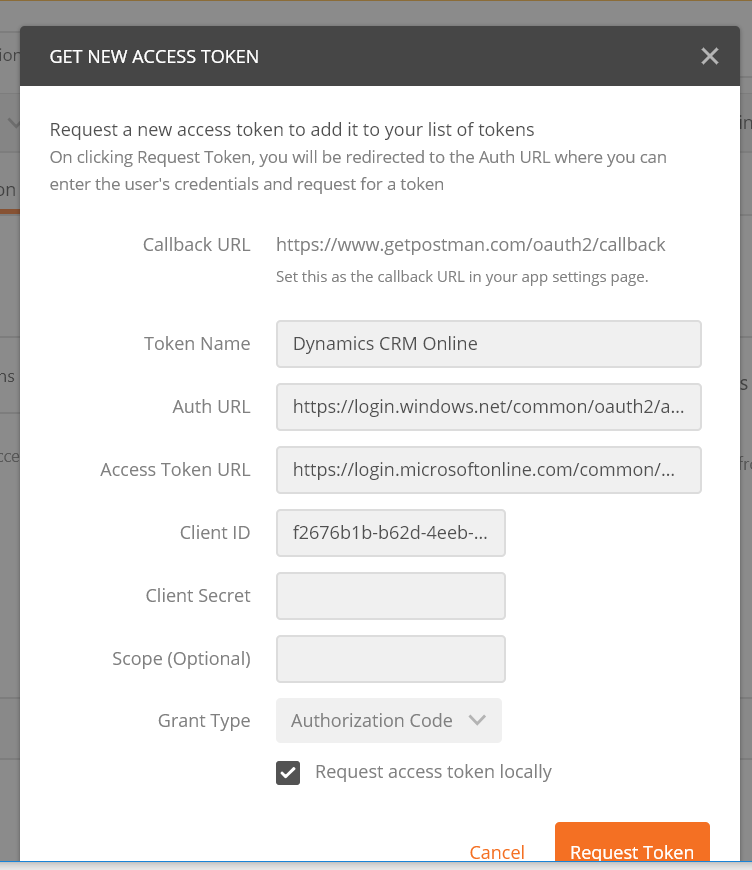
10. Enter Details as below :
Token Name : Desires Name i.e dynamics crm Online
AuthURL : https://login.windows.net/common/oauth2/authorize?resource=%5Byour dynamics crm plain URL i,e https://passion4dynamicscrm.crm8.dynamics.com%5D
Access Token URL : https://login.microsoftonline.com/common/oauth2/token
Client ID : follow this blog i have created to get client id of your dynamics CRM : REGISTER DYNAMICS CRM APP WITH AZURE FOR OAUTH 2.0 AUTHENTICATION
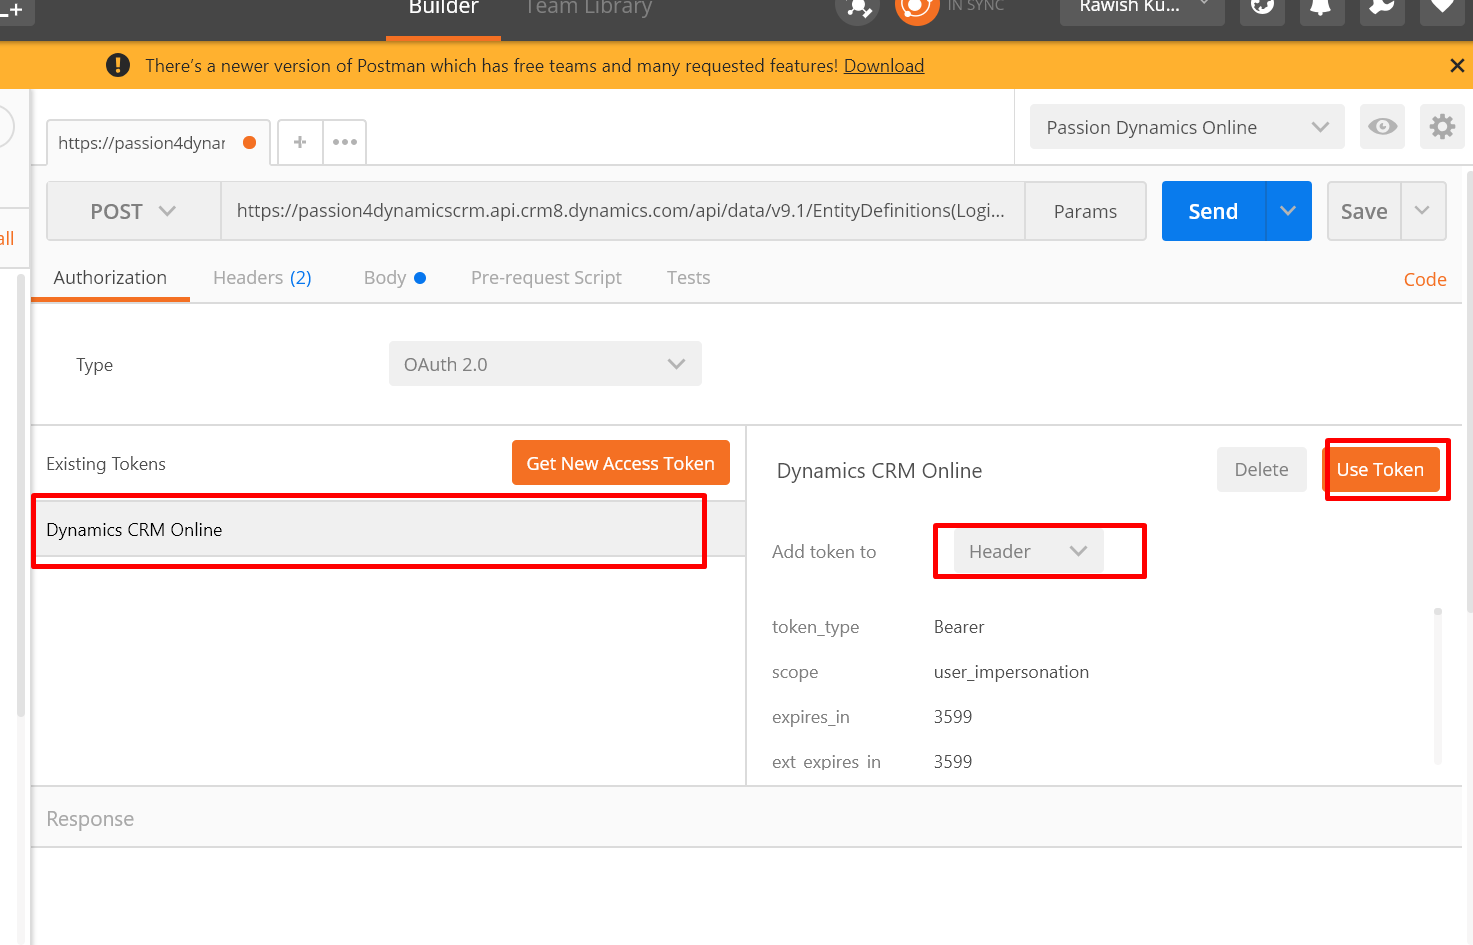
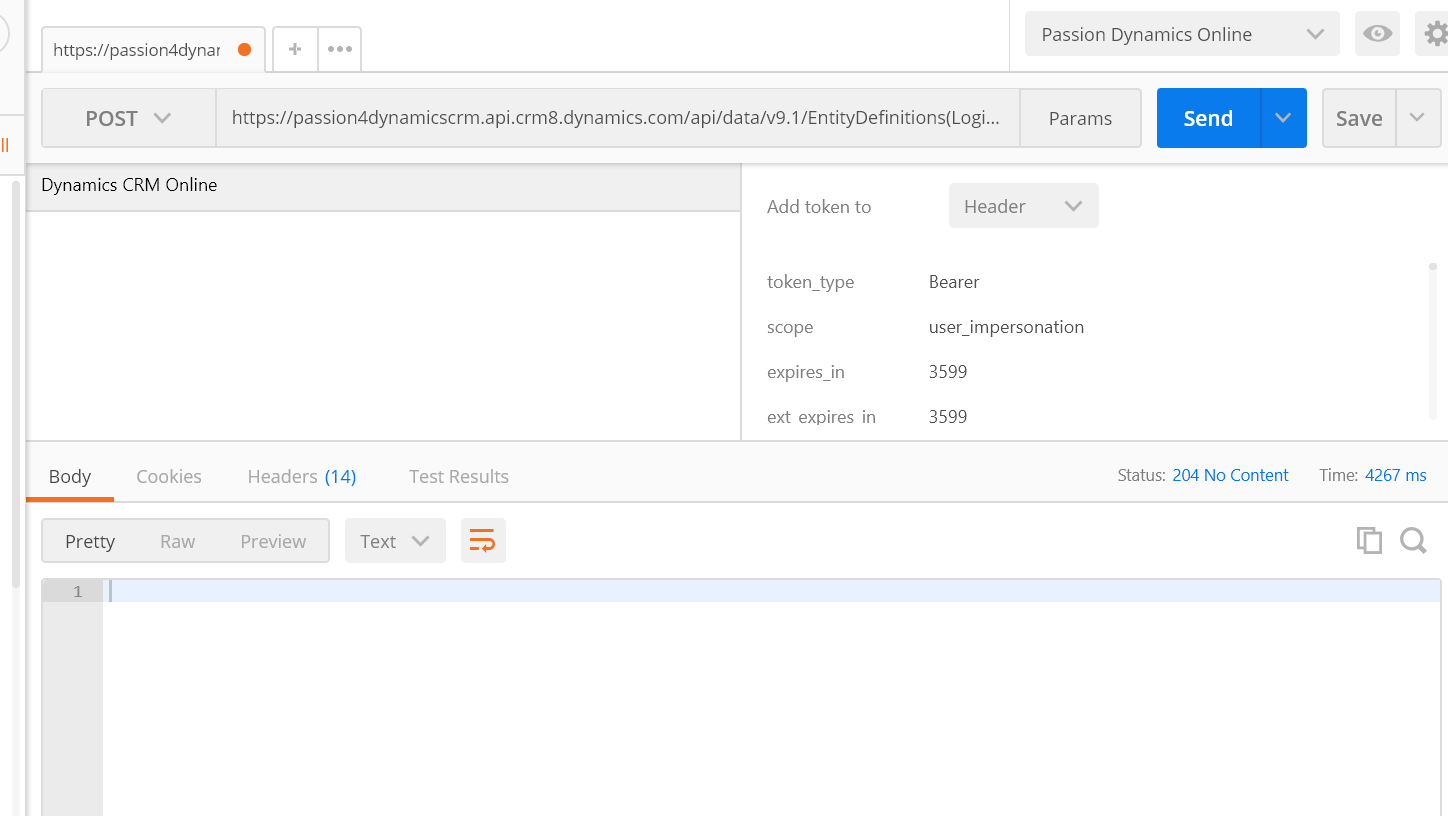
11. Now click on Request Access token, you will be asked to login to your dynamics CRM, after successful login you will have a screen below:
Select the token which we have setup and change “Add token to” to Header and click on “Use Token” which will add this to headers.
13. we are all set to execute our request , so click on “Send” , if everything was setup properly you will get success with no response:
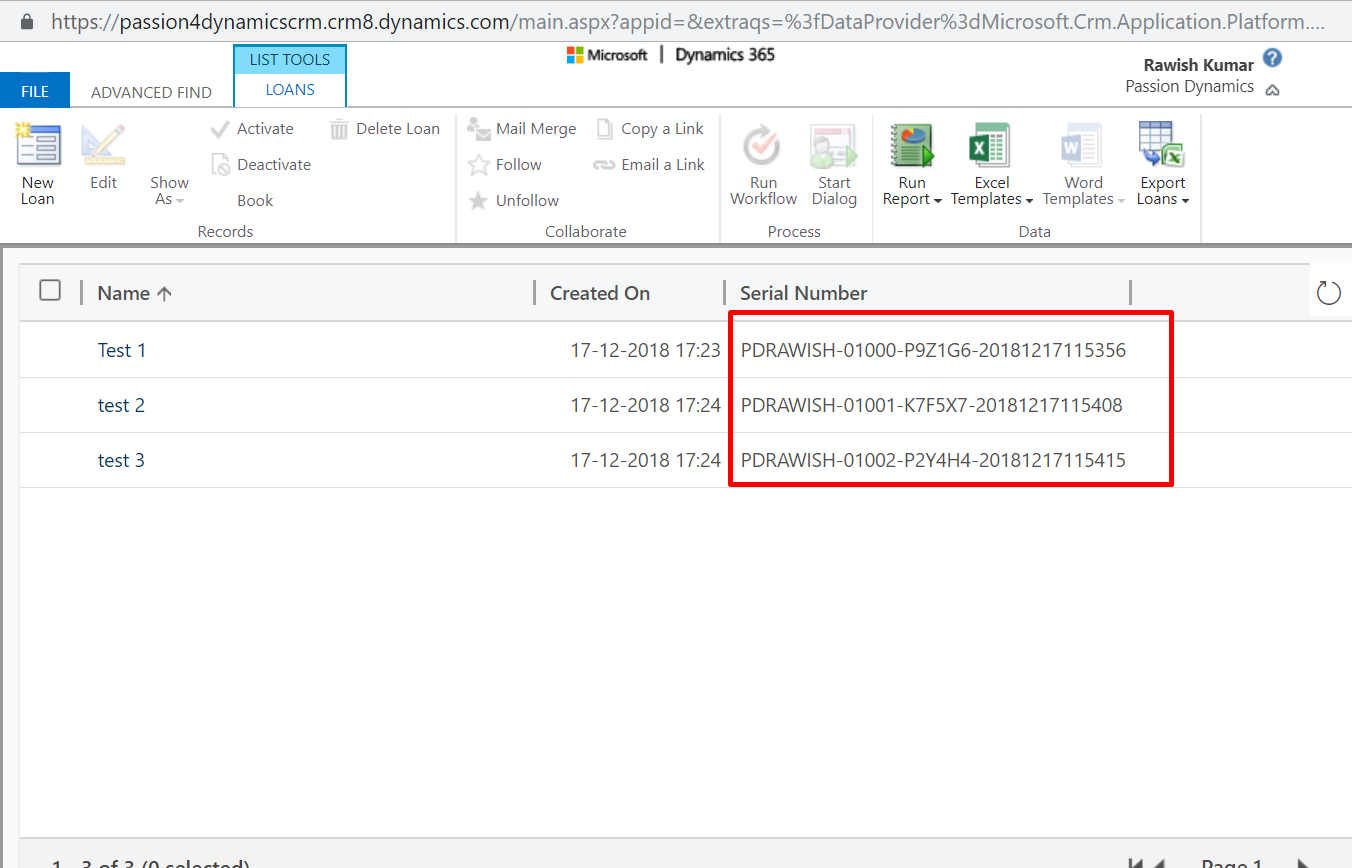
14. Open you dynamics CRM and navigate to Settings > Customizations > Customize the system > entity name > fields and notice the field has been created:

15. Go ahead and put this field on the form and create some records.
There you go! I hope this helps! Please feel free to let me know if you face any issues during this operation.
