
In this blog i am going to show you how you can setup Microsoft dynamics CRM Portal trial for your learning or business purpose.
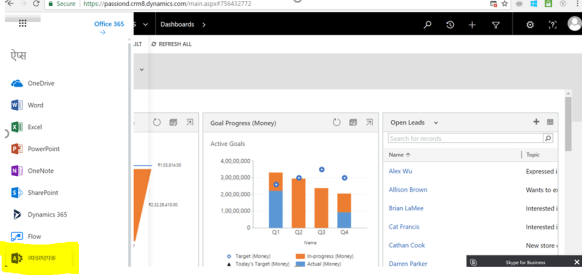
- Login to dynamics CRM> click on main navigation and click on “Administration” button(it shows in my local language in the screenshot but you can look for that symbol):
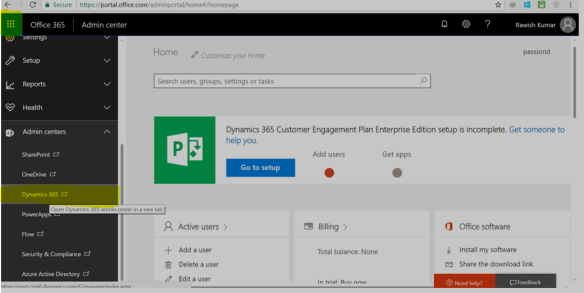
- Once you are navigated to Admin Center click on the main Navigation again and scroll down to “Admin Centers” , look for ” Dynamics 365″.
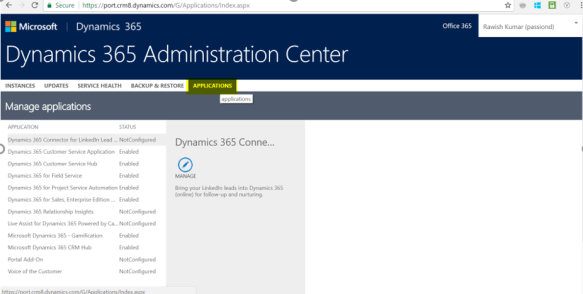
- you will be presented with the screen like below, click on Applications tab:
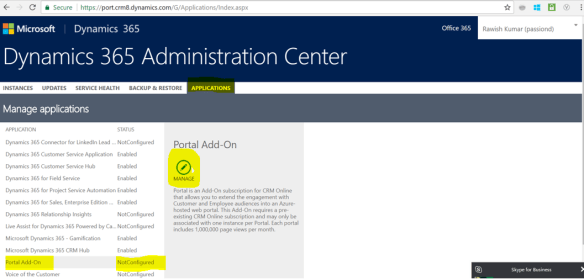
- Now, Click on “Portal Add-On” and then click on “Manage” Button:
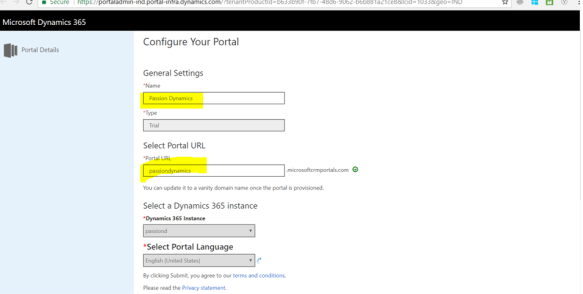
- you will be presented with Main portal setup page, Enter the desired name and select the URL you want ( make sure its unique):
- Scroll down more and enter details like the admin , portal type and portal audience. Once you okay with the details entered click on Submit:
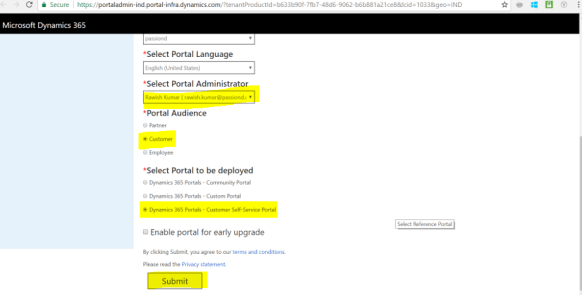
- Once you click on submit you will be presented with Agreement page , click on Accept.
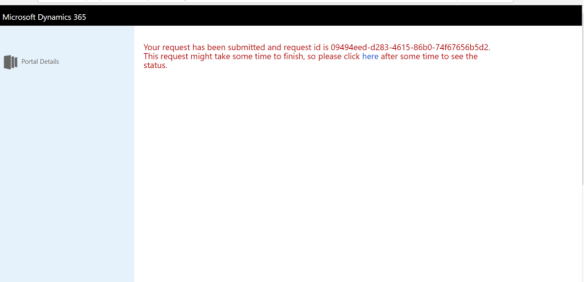
- Post this it will show you the below page – which means you portal setup has started:
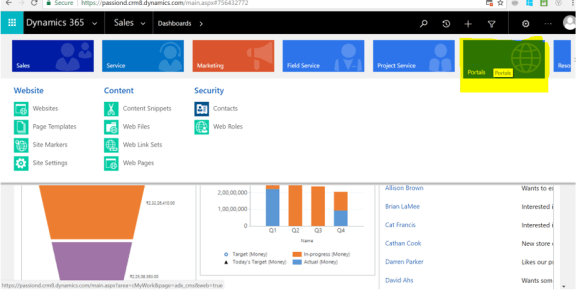
- Wait for 5 mins and login back to dynamics crm , you should now see a new module added as “Portal”:
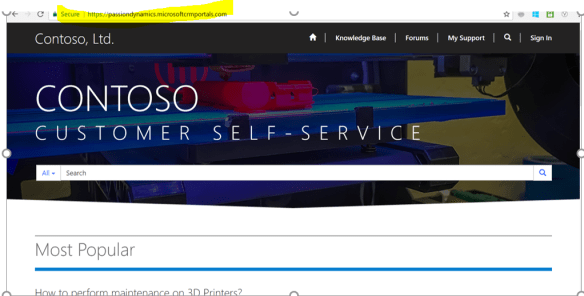
- You can now login to your portal using the URL which we create on the step 5:
I hope this helps. I will be writing few more blogs on how you can get started with Customizing your portal as per business needs so stay tune.
Cheers!
