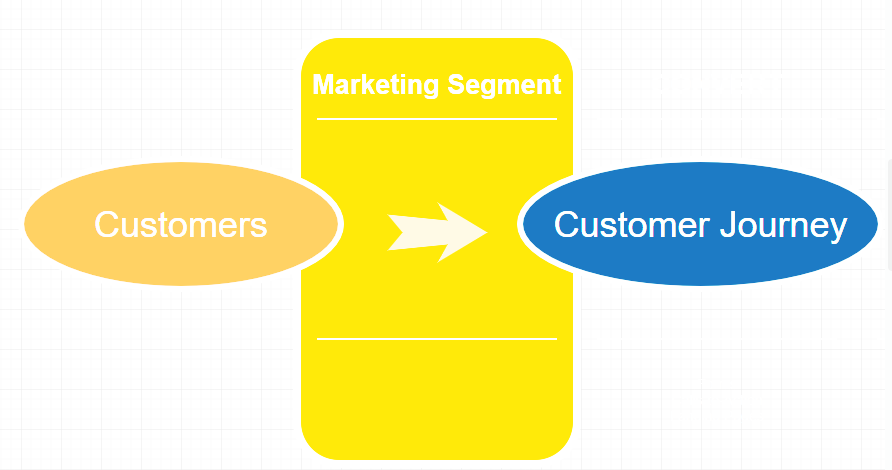
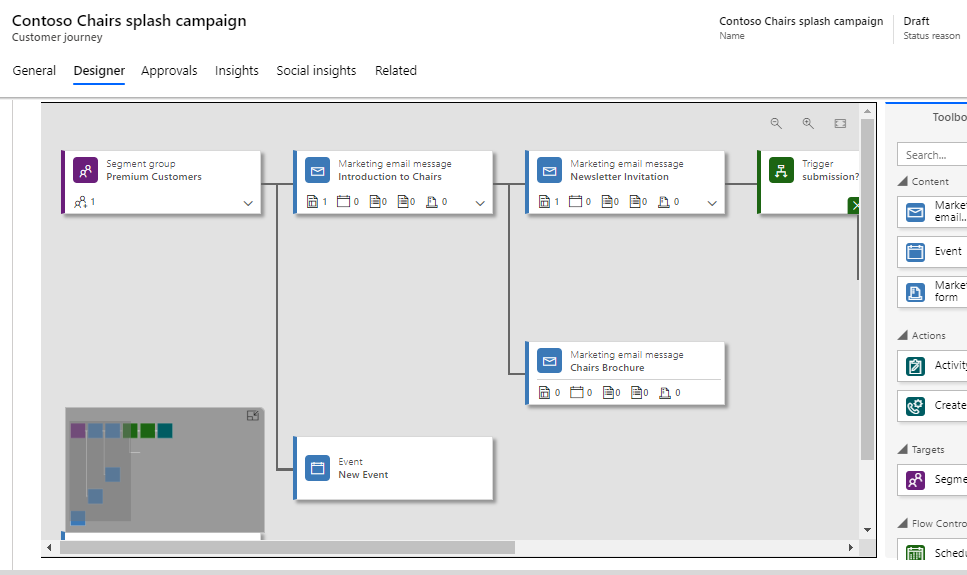
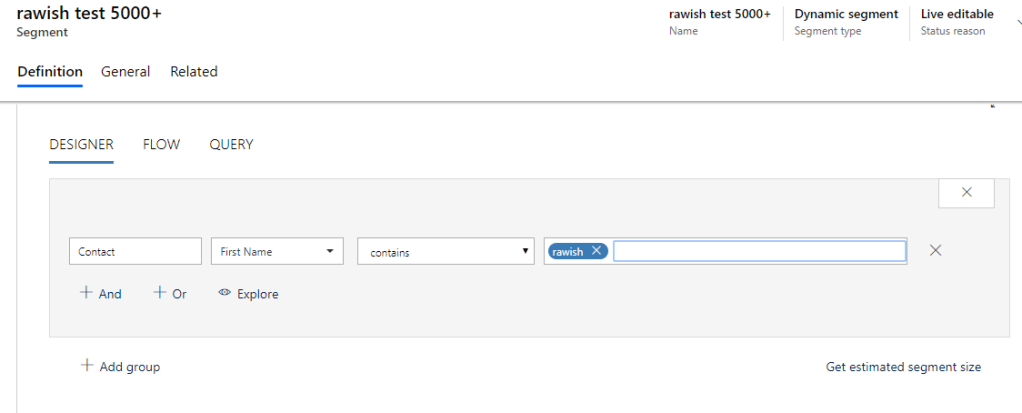
A segment in 365 for marketing app is an essential feature which lets you create a list of related contacts based on some criteria( similar to advanced find). Later it is used to target customers in a customer journey.
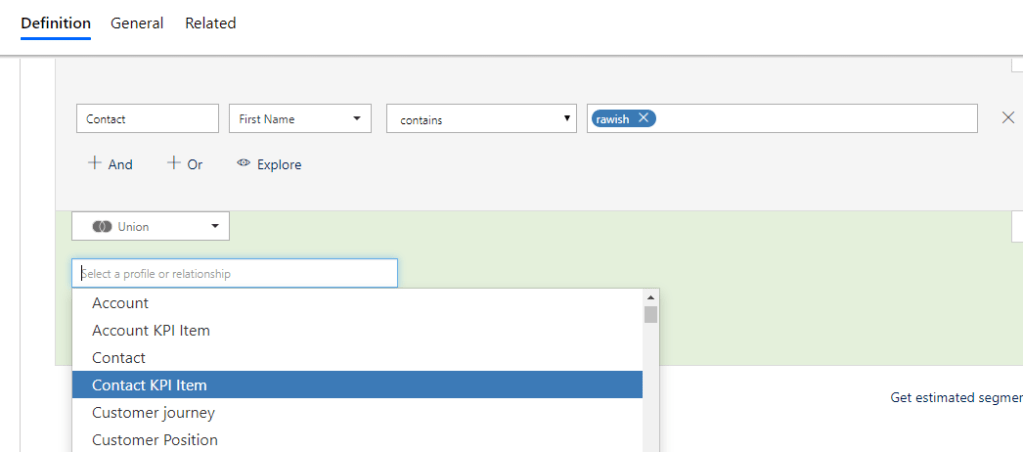
While you can define a criteria/search for contacts and add them in a Dynamic segment, you don’t have this facility in a “Static” Segment because contacts are manually added on a per-contact basis. hence, there should be ability to import these contacts in to a static segment.
Now, there is no out of the box way I could find by which we can bulk update contacts into a segment, however after doing a bit digging, I found a working custom solution.
Solution
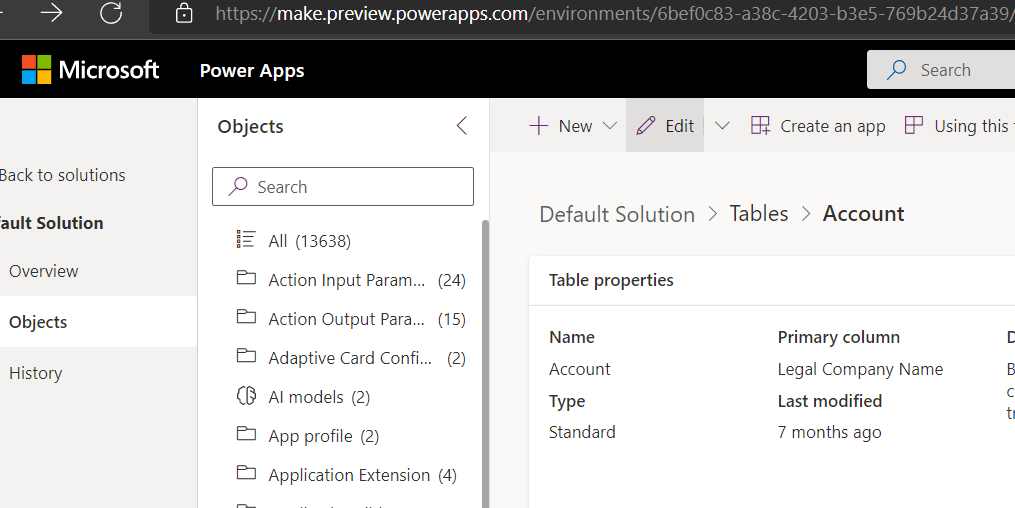
If you look into segment entity, you will find a mysterious field named “msdyncrm_segmentmemberids” as below:

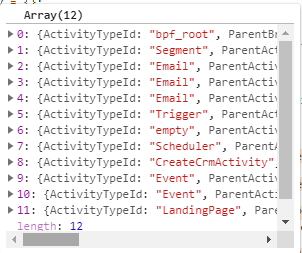
This field basically consists of the ids of the contacts in a JSON format prefixed with “crm”:

Hence, whatever contacts you manually select on the segment comes and sit in this field. So we just need to update this field with ids of the contact we want to include in this segment.
You can update this field either by WebApi or a Plugin. Its upto you how you want to design your solution. In my case I have placed button on the segment form which opens a web resource providing a flexibility to upload an excel/csv file containing these ids of the contacts which you can easily read, prepare the format of the guids(prefix with “crm”) and update using a simple web api request.
 var entity = {};
            var stringIfy = JSON.stringify(Prepared_ContactsArray);
            var entity = {};
            entity.msdyncrm_segmentmemberids = stringIfy;

            var req = new XMLHttpRequest();
            req.open("PATCH", GetGlobalContext().getClientUrl() + "/api/data/v9.1/msdyncrm_segments(" + segmentId + ")", true);
            req.setRequestHeader("OData-MaxVersion", "4.0");
            req.setRequestHeader("OData-Version", "4.0");
            req.setRequestHeader("Accept", "application/json");
            req.setRequestHeader("Content-Type", "application/json; charset=utf-8");
            req.onreadystatechange = function () {
                if (this.readyState === 4) {
                    req.onreadystatechange = null;
                    Xrm.Utility.closeProgressIndicator();
                    if (this.status === 204) {
                        //Success - No Return Data - Do Something

                    } else {
                        //Xrm.Utility.alertDialog(this.statusText);

                    }
                }
            };
            req.send(JSON.stringify(entity));
        }
I hope this helps!
Cheers!