
This is the 8th blog of this series, before this I have created last blog from module 2 on the topic “Describe the work order lifecycle” which you can check here :MB2-877 MICROSOFT DYNAMICS 365 FOR FIELD SERVICE MODULE 2 TOPIC – DESCRIBE THE WORK ORDER LIFECYCLE
In this blog we are going to cover the second topic “Create and manage work orders” from module 2:

- Create work order from an incident
We have already learned that a work order can be added from a case or an opportunity. To add a work order from case, go from Field Service > Field Service > Case:
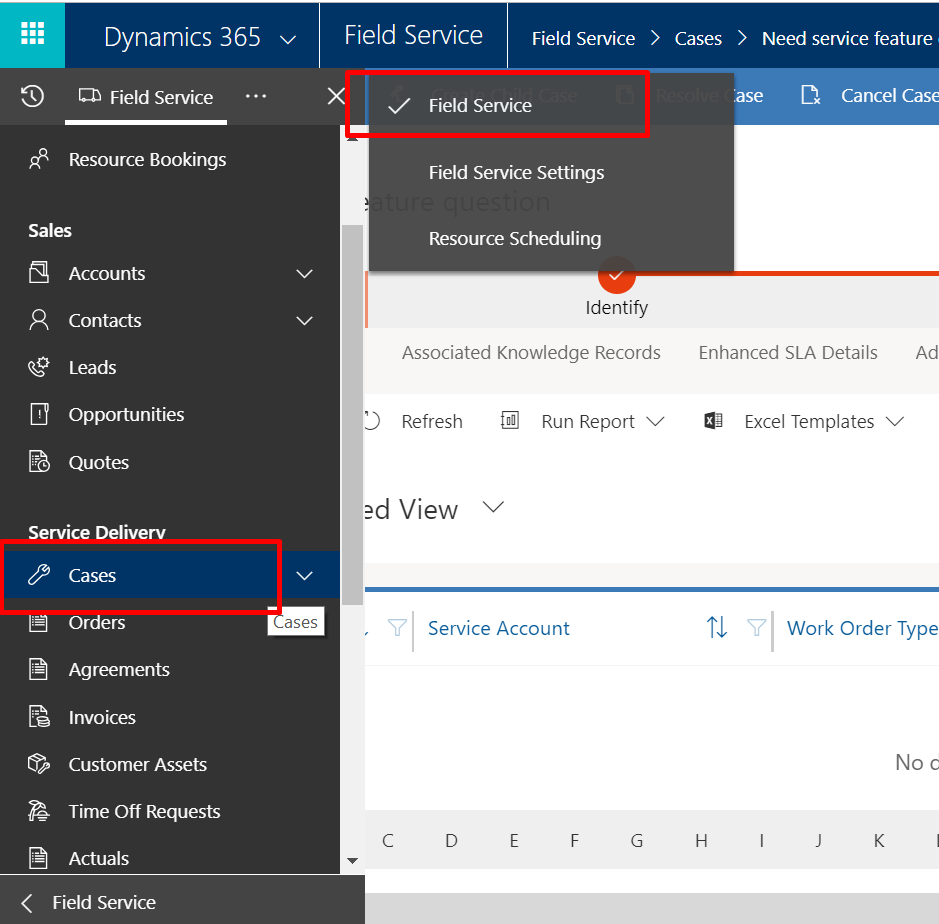
select an existing case or create a new one and click on tab “Related” > Work order :

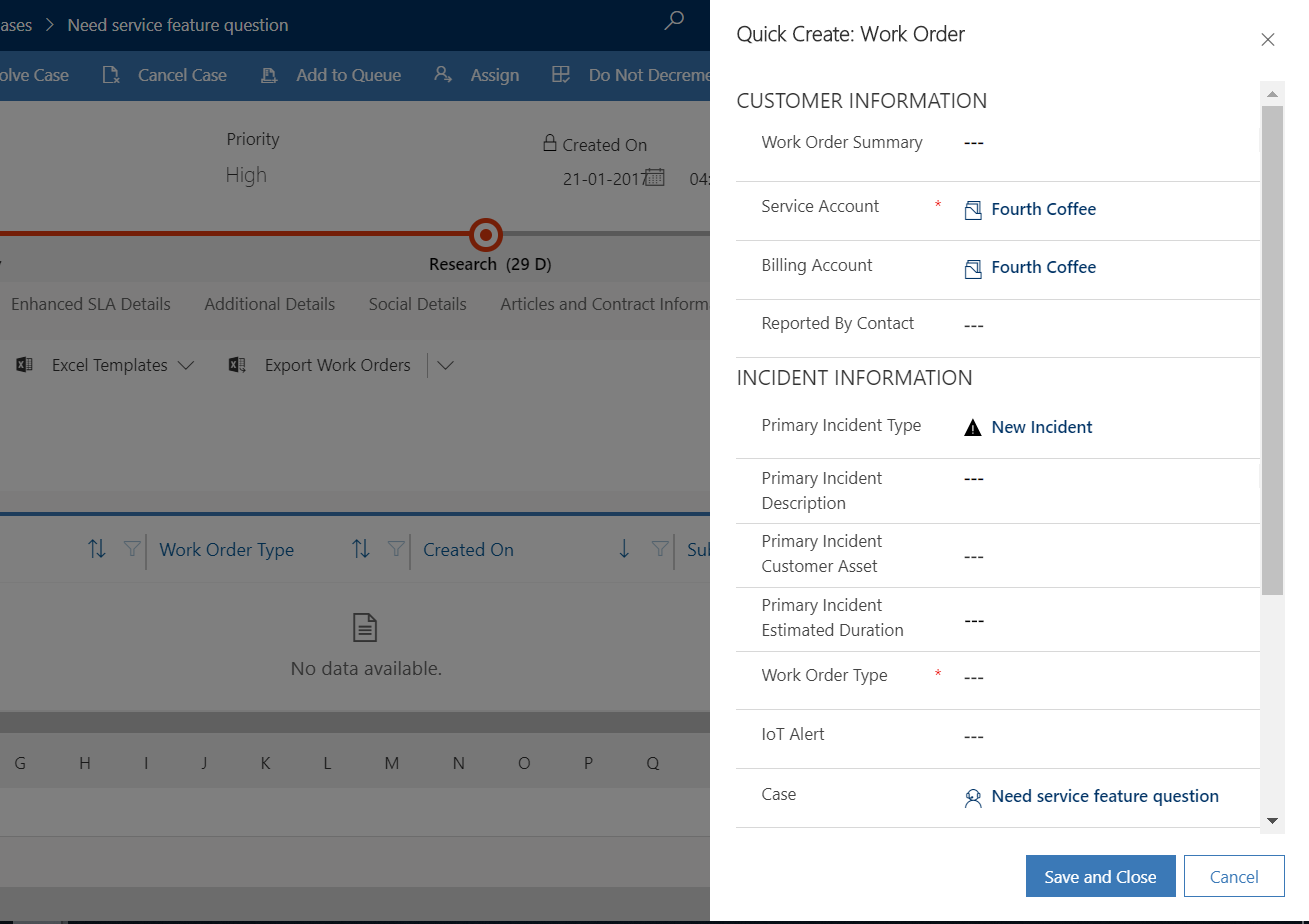
Then click on “Add new work order” . A side screen will open, fill out the details and click on save & close:
- Add status and substatus information to a work order
There are system predefined statuses are available that you can associate with a work which are as below: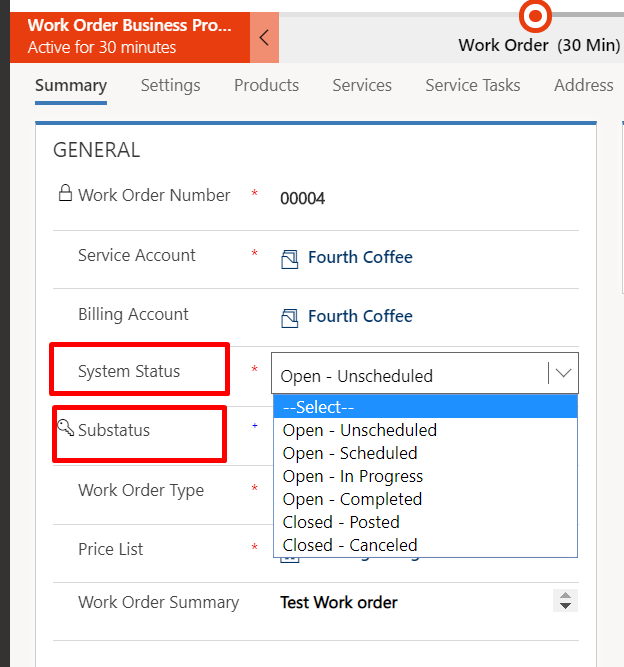
now these system statuses can have sub-statuses associated with them.
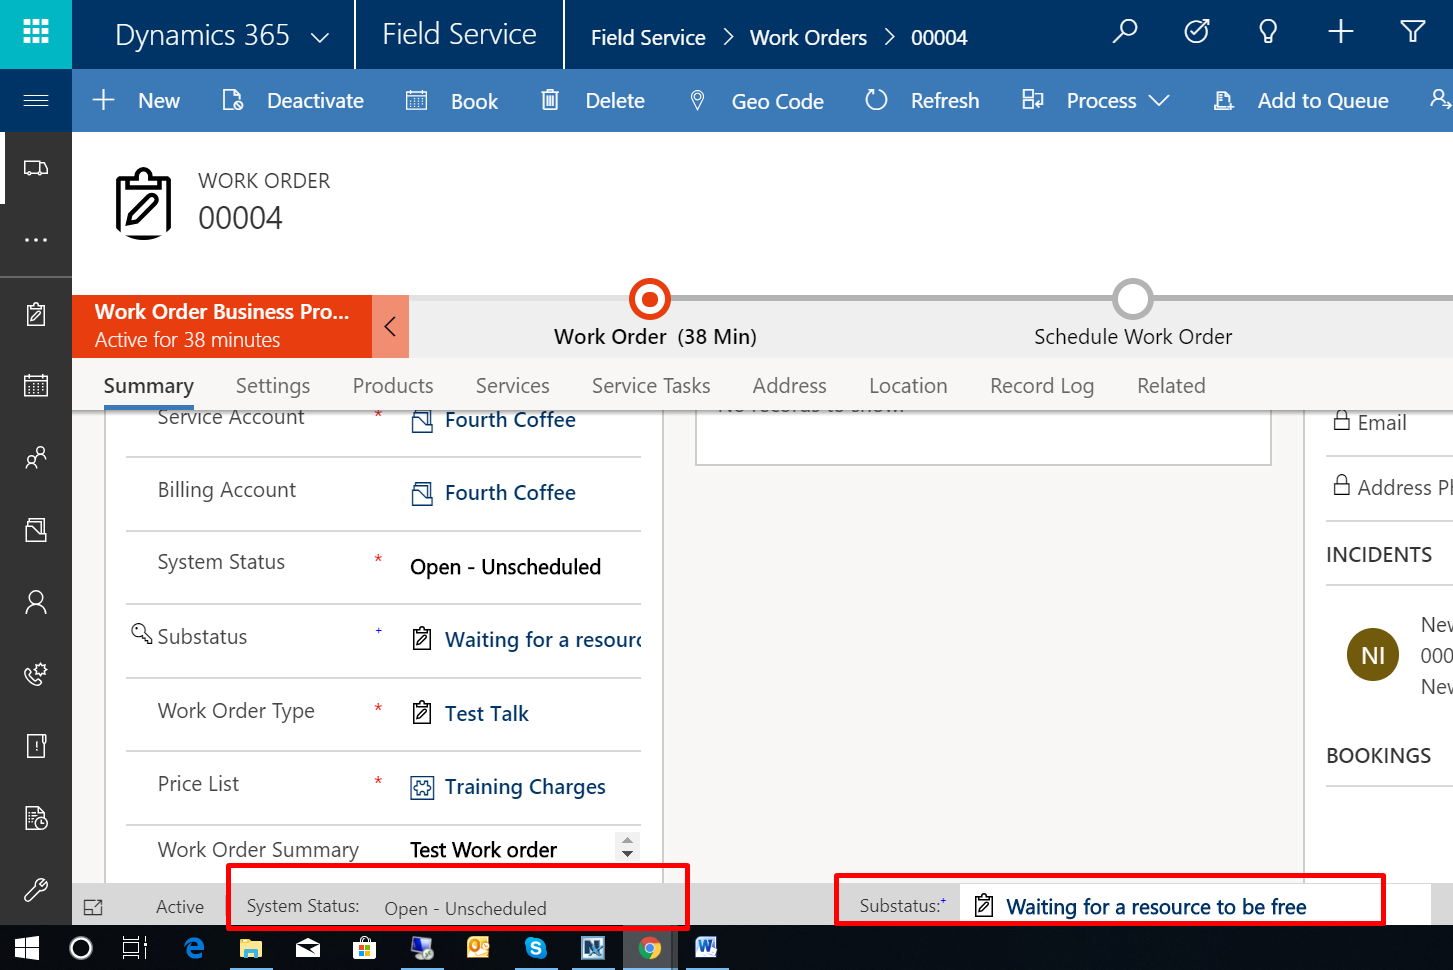
for i.e under open – scheduled you can have ” waiting for the manager approval” or ” resource not available at the moment” etc.Now when you add a sub status and save a work order – it is clearly visible in the footer out of the box:
- Configure work order type and priority
A. Work Order Type
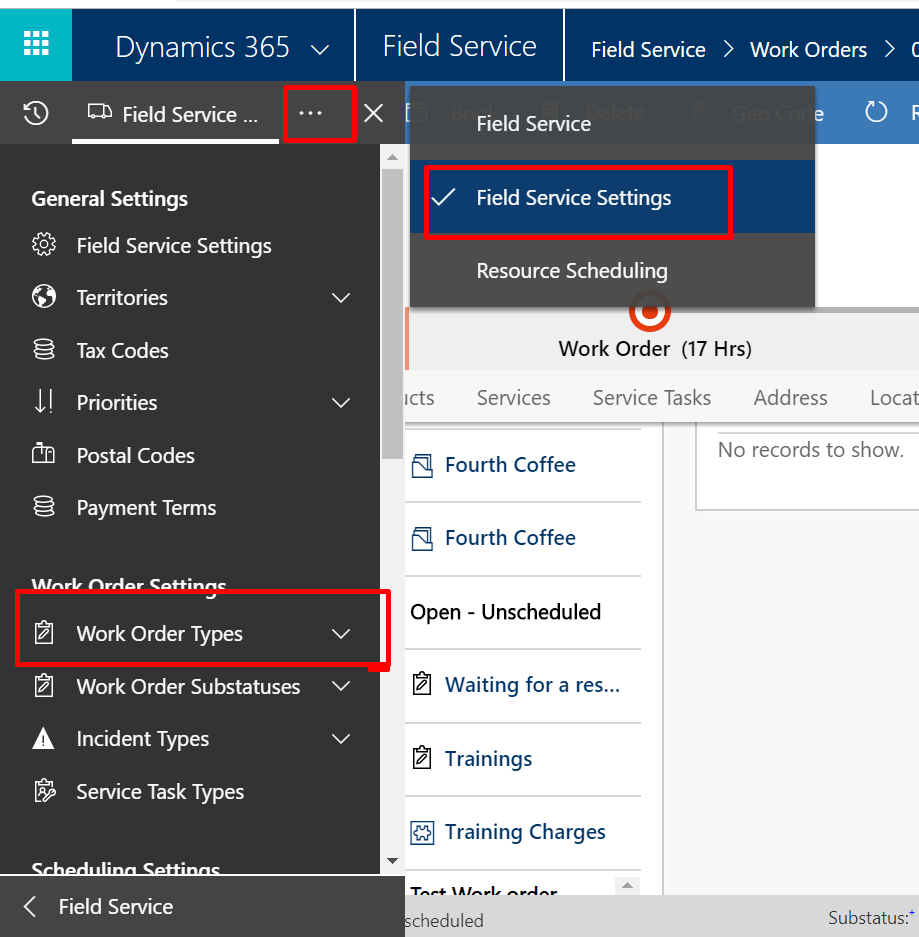
Work Order Type is an option of categorization of work orders such as “Maintenance” , “Repair”, “Training” etc.To define a work order go from field service > field service settings > work order types and click on new :
Add required field such as incident required , associate a price list :
The main point here is when you add this work order type to a work order , the price list you add here , that gets added by default on the work order: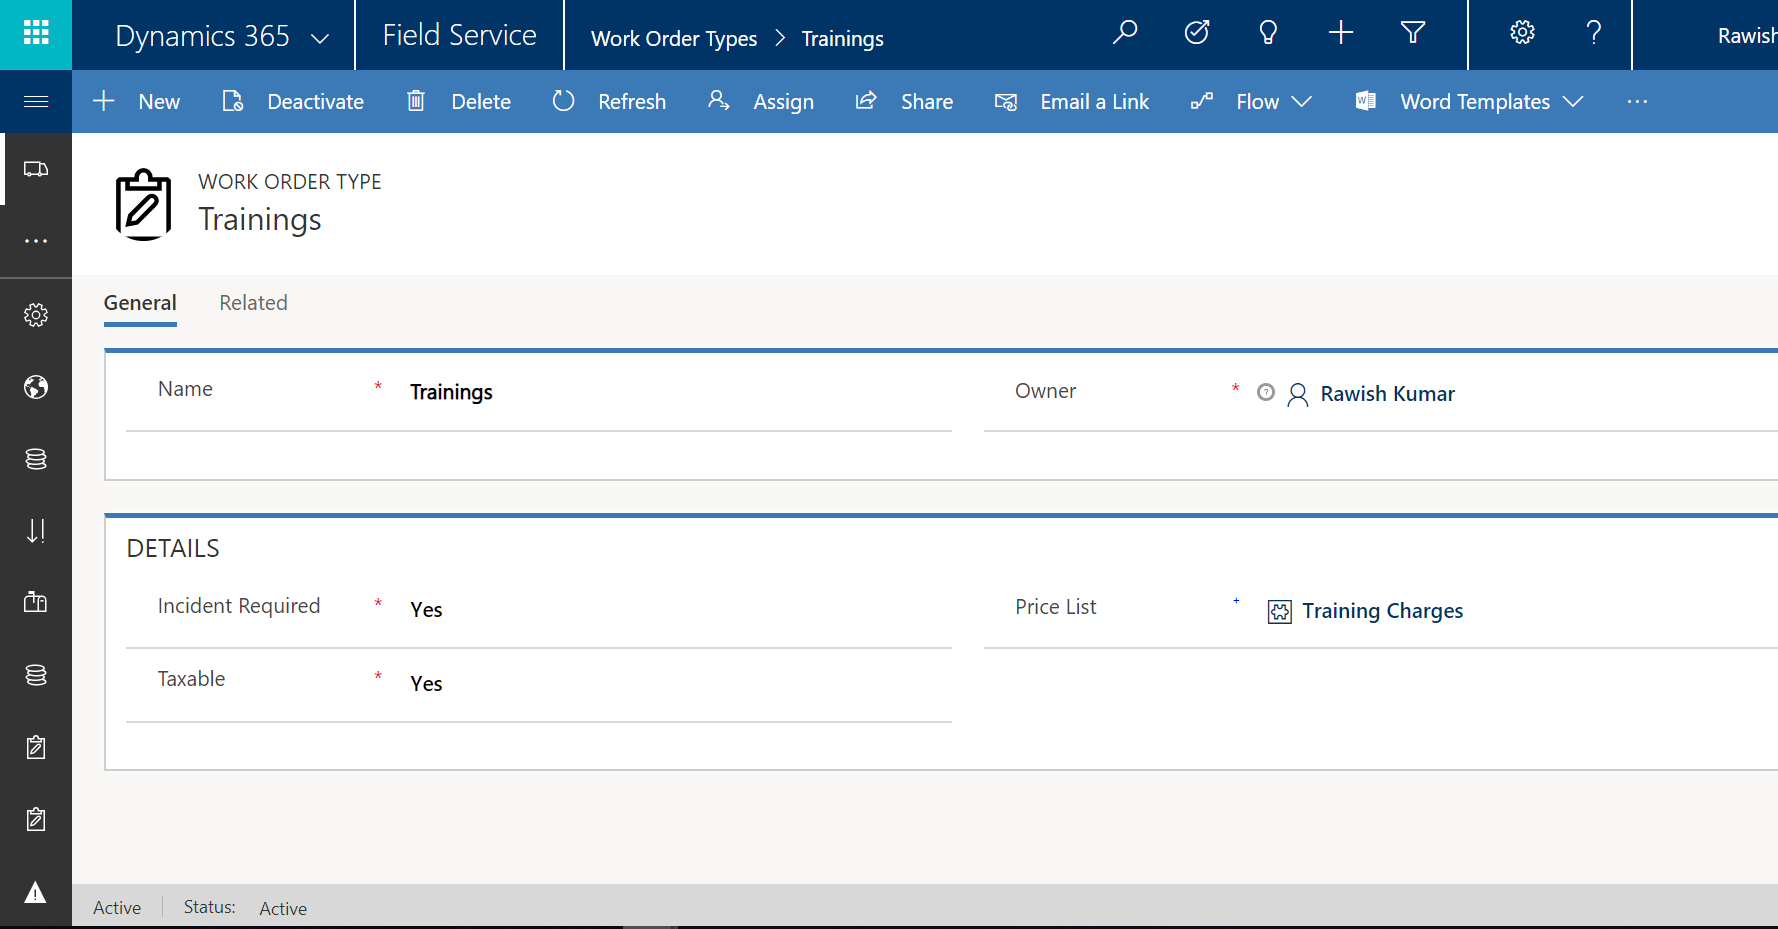
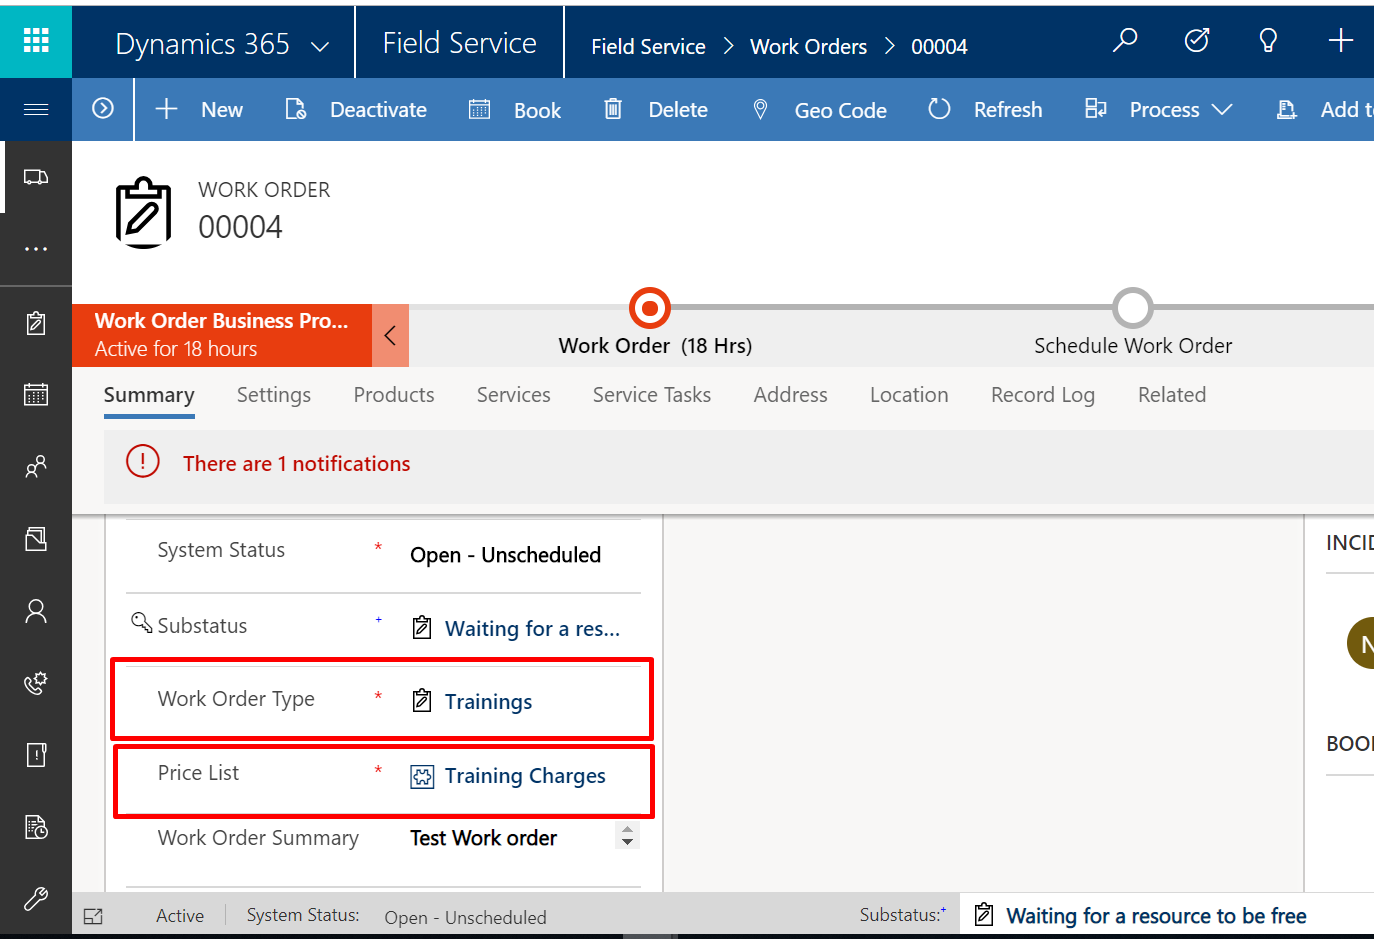
Then you can associate this with a work order and notice when you do that the price list associated on work order type gets added to the work and becomes a default price list , however you have option to overwrite it.
B. Priorities
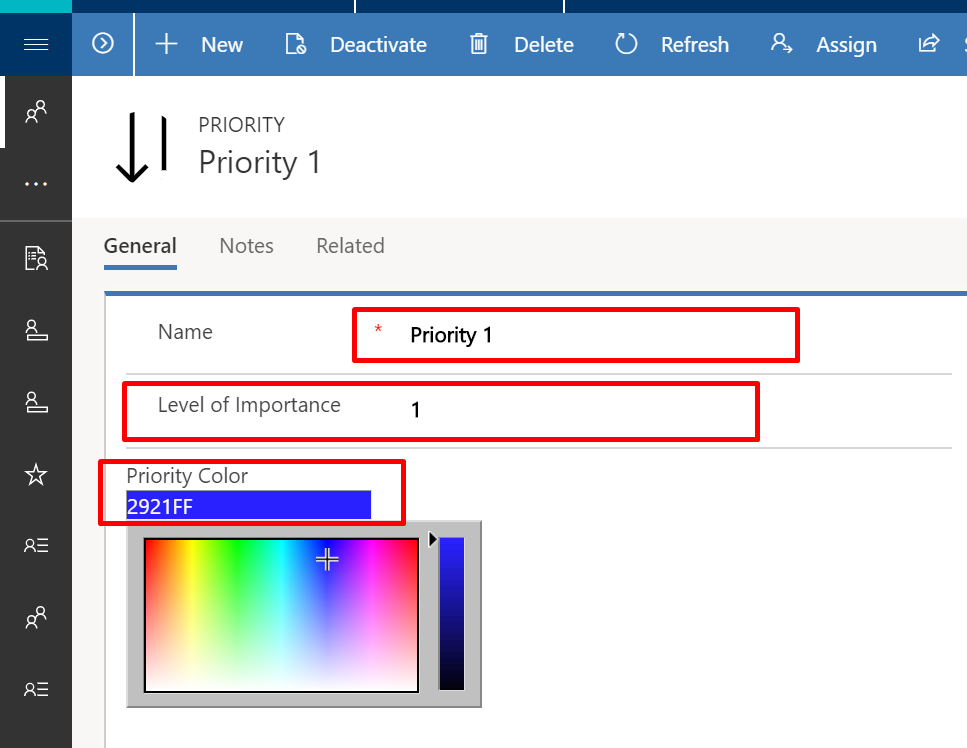
Priority records let you prioritize your work orders. You can also assign each priority value a custom color, which will display in the outline of the resource booking time slot on the schedule board. This allows dispatchers to visually distinguish a job’s priority while managing the schedule.
To create priorities for your field service work orders , go from field service > Resource Scheduling and click on Priorities :

click on add new priority and give it a name and select level of important select 1 for the top priority and 2,3,4… for the lower ones subsequently :
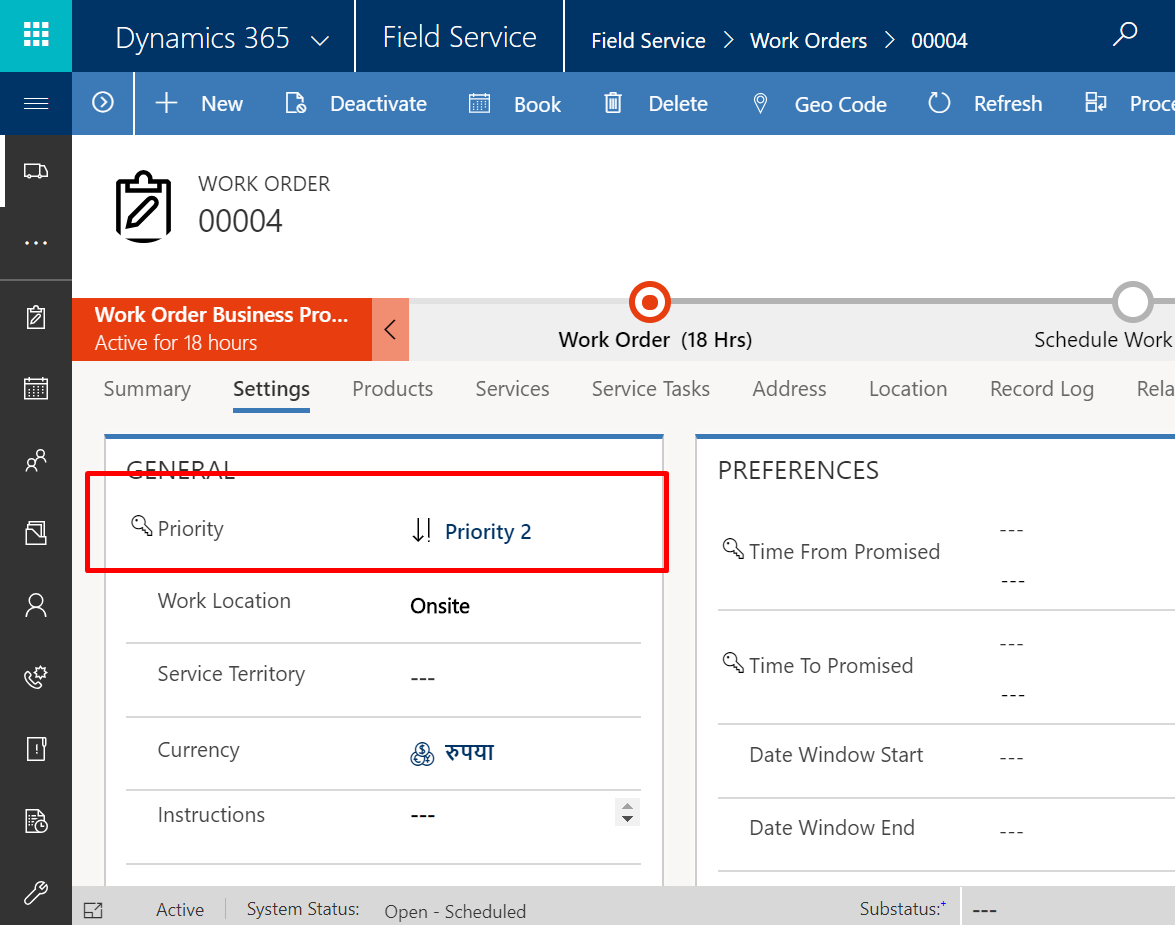
Late this can be assigned to work order on the work order setting tab:
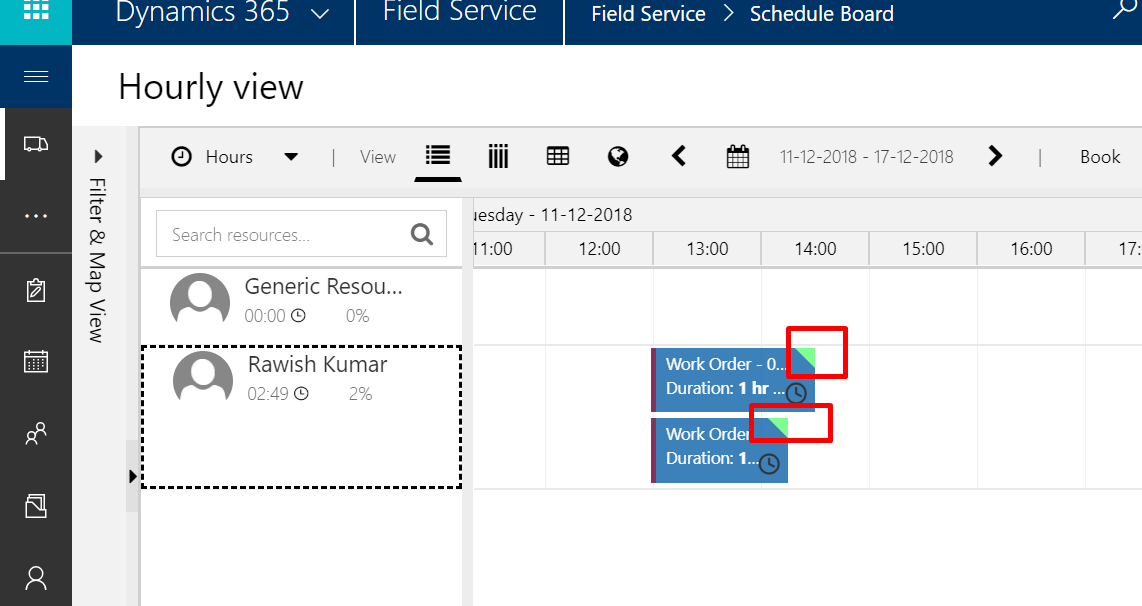
this can be seen on the scheduled board with colour representing the priority, in below the green colour represents the priority of the work order :
- Organize work orders and resource by geography
A Service territory helps Organize Work Orders and resources by geographical area.
In this blog here : Configure Additional Options , I have followed an approach to create a territory and assigned that to a resource , you can also associate this territory to a work order’s Settings tab :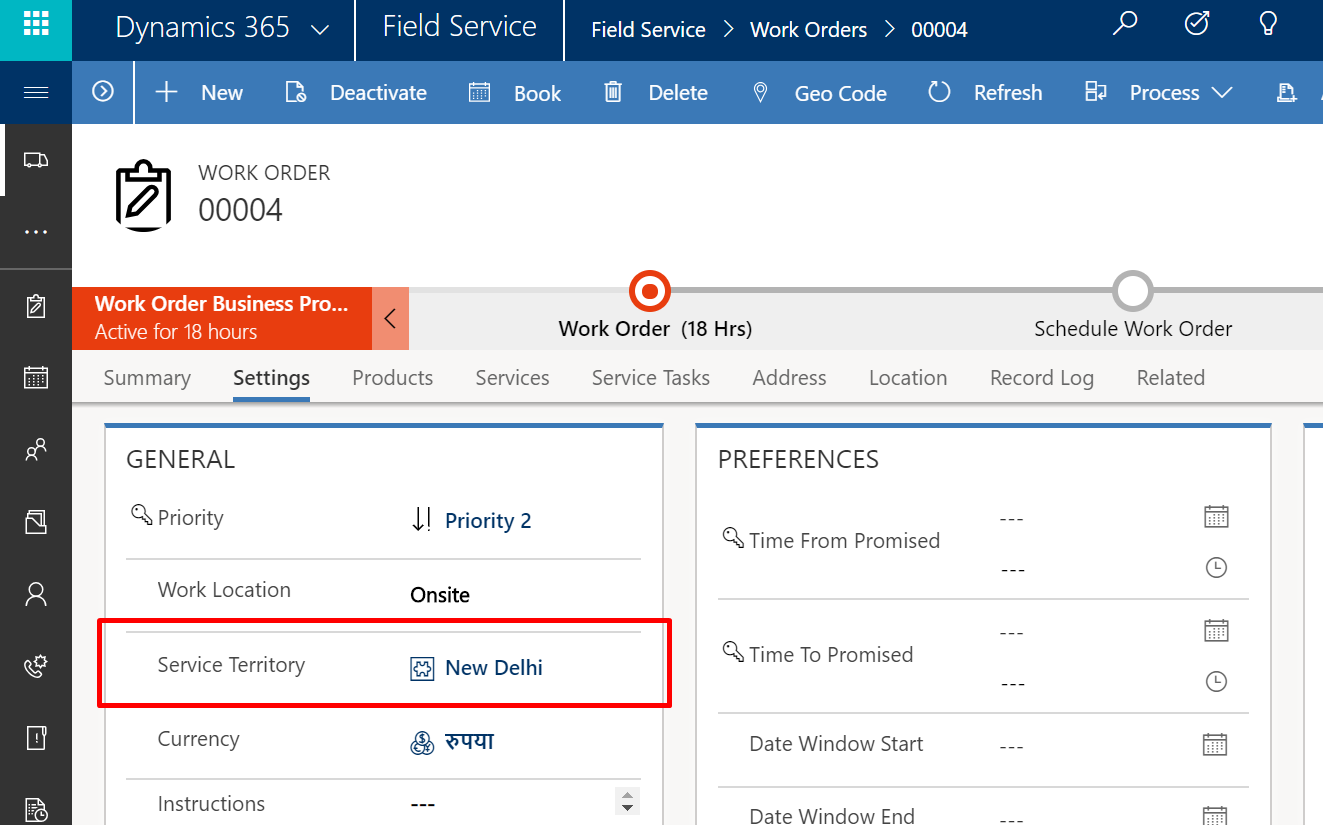
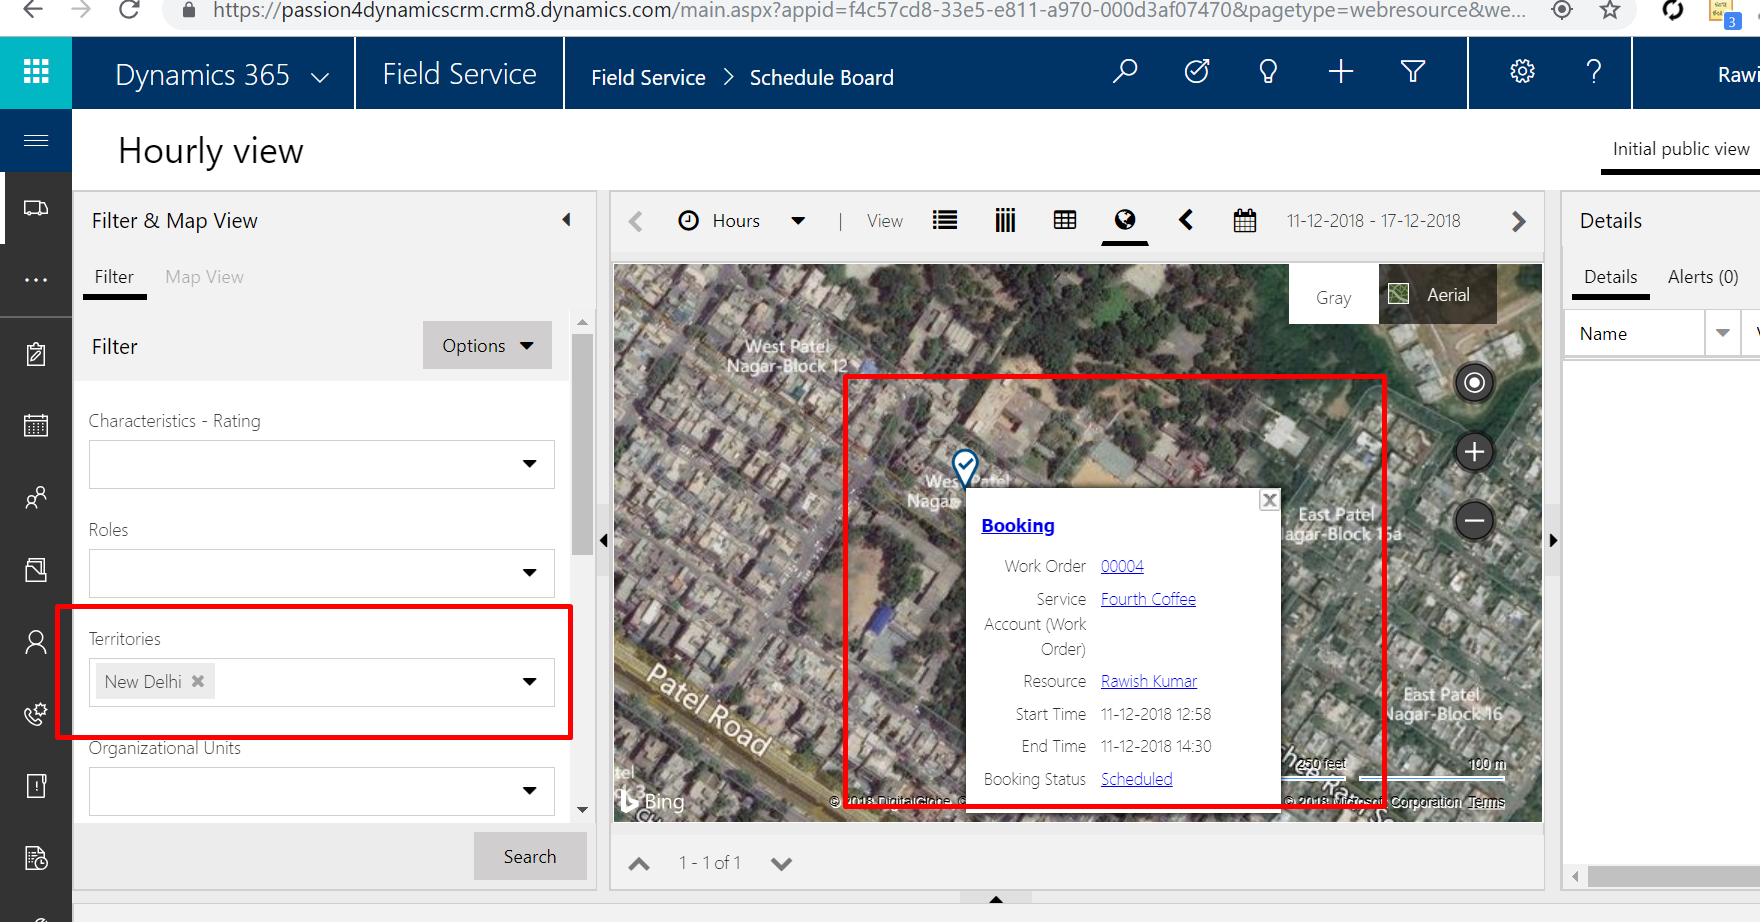
Which then can easily be located on the map view by adding the territory filter:
- Describe the process for closing work orders & Close a work order
When you moved through business process of a work order – when work order is completed, the status is set to Open – Completed however that doesn’t mean that a work order is literally completed in crm. There may be some approvals/information required etc before accomplishing the definition of done.
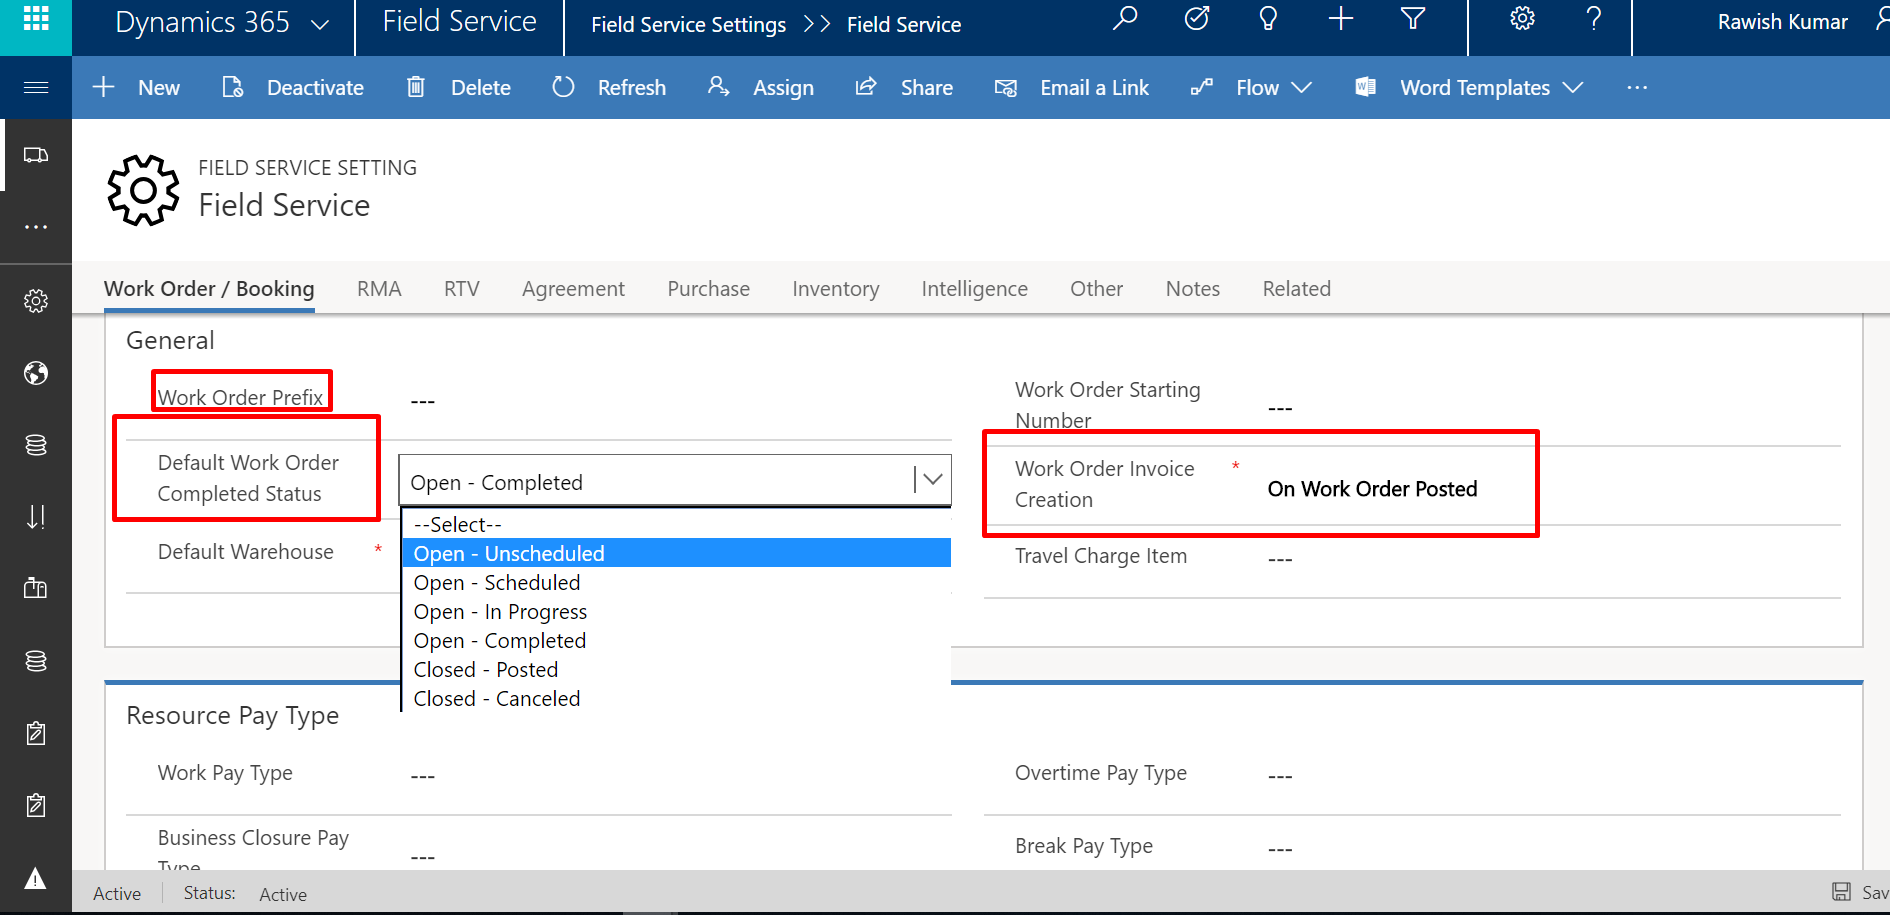
Finally when everything is done – the status should be changed to “Closed -Posted” which signifies that a work is completed.There may be additional Settings that you can do around these settings under field service administration such as what should be the default status when a work order is completed or when an invoice should be created etc.
That’s it for this blog – i will see in you the last blog “Manage incidents” of module 2 “Manage Work Orders”.
